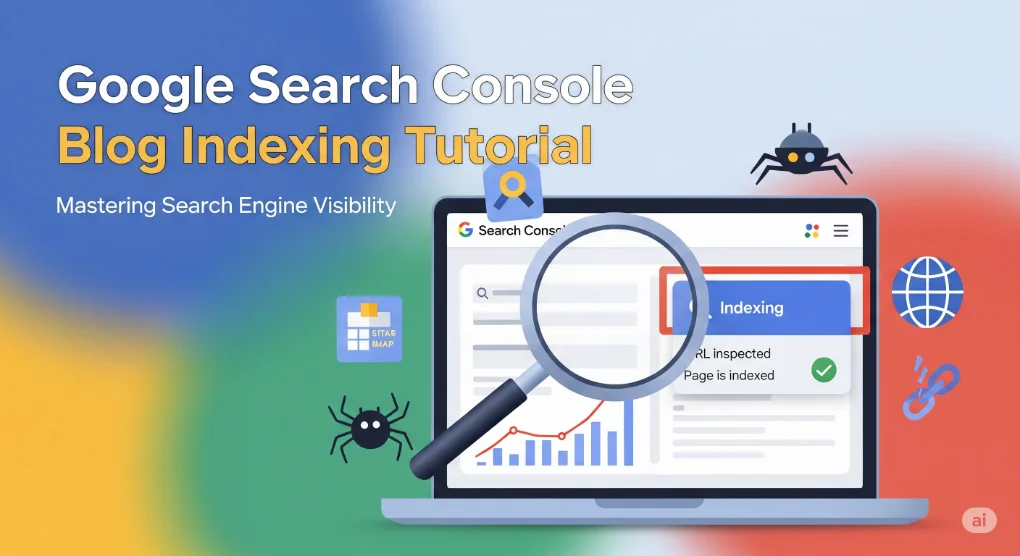
How to Index Your Blog in Google Search Console: Step-by-Step Guide
Starting a blog is an exciting journey, but getting it noticed by your target audience can be challenging if search engines don’t recognize it. One of the most effective ways to ensure your blog appears in search results is by indexing it in Google Search Console. Indexing allows Google to crawl, understand, and display your blog pages in search results. Without indexing, even the best content may remain invisible to potential readers.
In this detailed step-by-step guide, you will learn how to index your blog in Google Search Console effectively, why indexing is essential, and some best practices for long-term visibility.
Why Is Indexing Important for Your Blog?
Before diving into the steps, it’s important to understand why indexing matters. When you publish a blog post, it doesn’t automatically appear in search results. Google uses bots called crawlers to scan your content, analyze it, and then add it to its database. This process is known as indexing.
Benefits of indexing your blog include:
-
Increased visibility: Indexed content can appear in Google search results.
-
Improved traffic: Higher chances of organic visitors discovering your blog.
-
Better ranking opportunities: Indexed blogs can start competing for keywords.
-
Content updates recognition: Any changes or new posts will get re-crawled and updated.
Without indexing, your blog will not show up in search results, regardless of how valuable your content is.
Step 1: Set Up Your Google Search Console Account
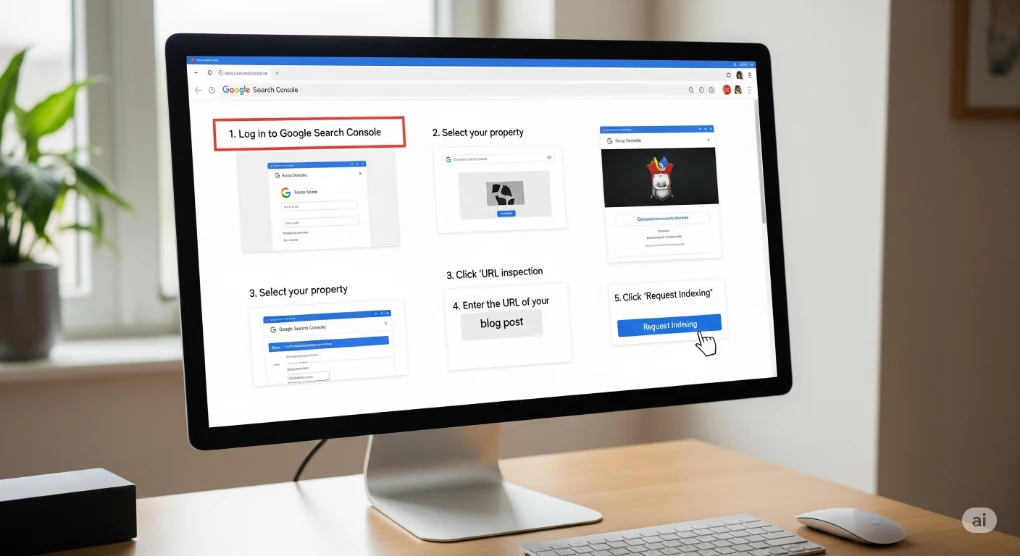
The first step is to create a Google Search Console account. If you already have a Google account, you can log in directly.
-
Visit Google Search Console.
-
Click on the Start Now button.
-
Sign in with your Gmail account.
This will take you to the main dashboard where you can add your blog.
Step 2: Add Your Blog to Google Search Console
Once you are logged in, you need to add your blog’s URL property.
-
On the dashboard, click on the Add Property option.
-
You will see two options:
-
Domain Property: Covers all URLs across your domain.
-
URL Prefix Property: Covers only specific URLs under the entered prefix.
-
For most bloggers, the URL Prefix option is easier. Enter your blog’s full URL (including https://) and click Continue.
Step 3: Verify Blog Ownership
Google needs to confirm that you own the blog before allowing you to access data and request indexing. There are multiple verification methods available:
-
HTML File Upload: Download the provided file and upload it to your website’s root directory.
-
HTML Tag Method: Add the given meta tag to the header section of your blog.
-
Google Analytics: Verify ownership if you already use Analytics on your blog.
-
Google Tag Manager: Verify using Tag Manager account.
Choose the method that suits you best. Once the verification is successful, your blog will be linked to Google Search Console.
Step 4: Submit Your Sitemap
A sitemap helps Google understand the structure of your blog and crawl it more effectively. Most blogging platforms like WordPress or Blogger automatically create a sitemap.
To submit your sitemap:
-
Go to the Sitemaps section in Google Search Console.
-
Enter your sitemap URL (for example,
https://www.yourblog.com/sitemap.xml). -
Click Submit.
This will notify Google about your blog’s structure and available posts.
Step 5: Request Indexing of Your Blog Pages
After setting up, you should request indexing for your important blog posts and pages.
-
In the search bar at the top of Google Search Console, enter the full URL of your blog post.
-
Click Request Indexing.
-
Google will test if the URL is valid and then add it to its crawl queue.
This process ensures that your new blog posts appear faster in search results.
Step 6: Monitor Coverage Reports
Google Search Console provides detailed coverage reports that show which pages are indexed and which have issues. Regularly check this section to identify errors such as:
-
Crawling issues
-
Duplicate content
-
Blocked URLs
-
Mobile usability issues
Fixing these errors promptly will improve your blog’s indexing and ranking performance.
Step 7: Optimize Your Blog for Better Indexing
Indexing is not just about submitting your site; it’s also about making your blog crawler-friendly. Here are some best practices:
-
Use relevant keywords: Add keywords naturally in your titles, headings, and content.
-
Create internal links: Link your new blog posts to existing posts for better navigation.
-
Ensure mobile-friendliness: A responsive blog design is essential for indexing.
-
Improve site speed: Faster websites get crawled and indexed more efficiently.
-
Publish fresh content regularly: Active blogs are favored in search results.
Common Mistakes to Avoid
-
Not submitting a sitemap: Without a sitemap, crawlers may miss important pages.
-
Using broken links: Dead links negatively impact indexing and user experience.
-
Keyword stuffing: Overusing keywords can hurt rankings instead of helping.
-
Blocking pages unintentionally: Check your
robots.txtfile to ensure essential pages are not blocked.
Final Thoughts
Indexing your blog in Google Search Console is a crucial step for gaining online visibility. By setting up your account, verifying ownership, submitting your sitemap, and requesting indexing, you allow Google to recognize your blog and display it in search results. Beyond indexing, consistently optimizing your content, fixing errors, and maintaining a user-friendly blog will improve your chances of ranking higher.
If you want your blog to grow, mastering the indexing process is the foundation. It ensures that your content reaches the right audience and gets the attention it deserves. Start today, follow the steps carefully, and watch your blog gain more visibility on Google.